
Article
Quick Answer: A professional water leak detection inspection typically starts with a conversation about what you’ve noticed, followed by non-invasive diagnostic testing (such as pressure testing, acoustic detection, or thermal imaging), and ends with a clear explanation of what was found — all before anything is cut open.
Step 1: Understanding What You're Seeing
The inspection starts with a conversation, not equipment. A technician will ask about what prompted the call — a rising water bill, a damp spot, a sound, or something else — since that context shapes which diagnostic methods make sense to start with. This is the same reason it helps to know the signs of a hidden leak before you call.
Step 2: Visual Assessment
Before any equipment comes out, a technician does a visual walkthrough of the relevant areas — checking for visible moisture, staining, or other clues that narrow down where to focus testing.
Step 3: Non-Invasive Diagnostic Testing
This is the core of the inspection, and which methods are used depends on the type of leak suspected:
- Pressure testing checks whether the plumbing system is holding pressure as it should, which can confirm a leak is present even before its exact location is known.
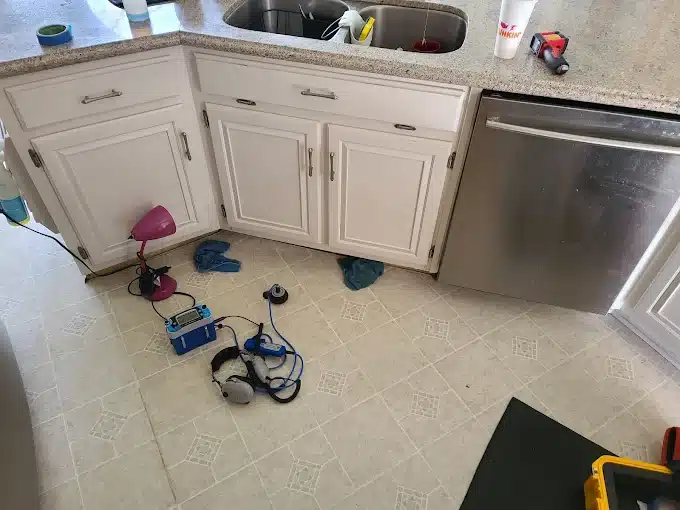
- Acoustic detection uses specialized listening equipment to pick up the sound leaking water makes as it escapes a pressurized line, helping narrow down its location.
- Thermal imaging identifies temperature differences on a surface that can indicate a leaking line underneath, especially useful for slab leaks.
- Video camera inspection is used for sewer and drain lines, where a camera is run through the pipe itself to visually identify breaks, blockages, or root intrusion.
The goal at every step is to narrow down the leak’s approximate location without opening walls, floors, or concrete — see our thermal imaging and sewer & drain detection pages for more on these specific methods.
Step 4: Explaining the Findings
Once testing is complete, you’ll get a clear explanation of what was found — where the leak appears to be, what type it is, and what that generally means for next steps. This is also the point where documentation matters if you’re weighing an insurance question.
Step 5: What Happens After
Our focus is on accurate detection. Once the source is identified, you’ll have the information you need to move forward with repair — through us or a provider of your choice, depending on the scope involved.
Ready to Schedule?
If you’re seeing signs of a leak and want to understand what an inspection would involve for your specific situation, call (470) 454-5051.
FAQ
Will you need to cut into my walls or floors during the inspection?
Not to locate the leak. Diagnostic testing is designed to narrow down the leak’s location using non-invasive methods first. Opening a wall, floor, or section of ground only happens once testing has identified where the actual repair access needs to be.
How long does an inspection take?
It depends on the property and the type of leak suspected, since different situations call for different combinations of testing.
Do you also repair the leak once it's found?
Our focus is on accurate detection. Once we’ve identified the source, we’ll explain what was found so you have the information you need to move forward, through us or a provider of your choice, depending on the scope of the repair.